Hey guys, welcome back to a brand new review! If you’re new here, and welcome to my community. In today’s review, I’m going to show you how to set up your very own audio interface.
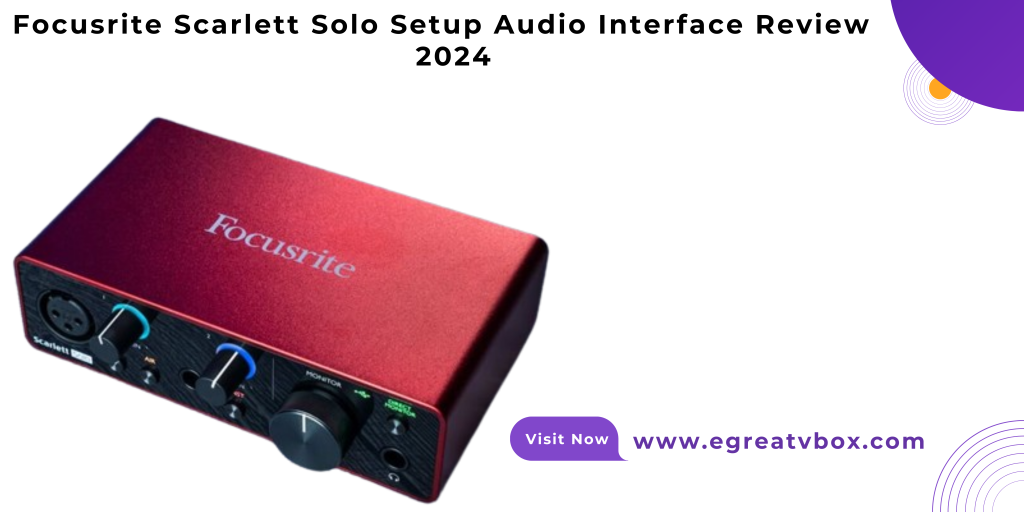
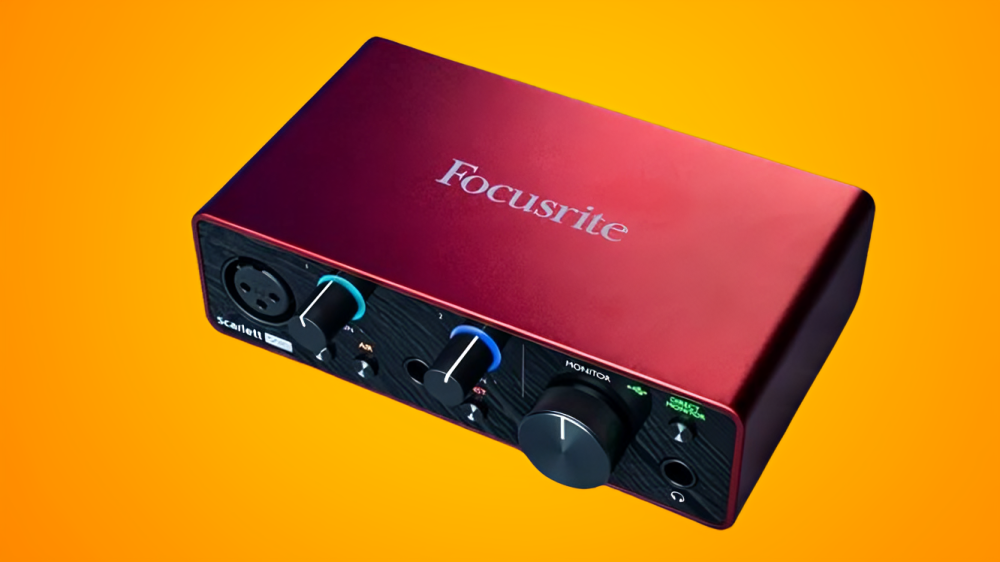
A few months ago, I purchased this $100.00 Focusrite Scarlett Solo audio interface, which is a great option for a small budget home studio setup. I did an unboxing review of it and went through a few features, but I forgot to show you how to set it up. Since that unboxing review, I’ve received many comments from people asking me to show the setup process from start to finish. That’s what we’re going to do today.
When you purchase a brand new audio interface, you get a few items in the box. These items include the audio interface itself, the cable you use to connect the audio interface to your laptop, and some sort of manual to give you an idea of what the audio interface is all about and its specs. Depending on the audio interface, you might also get some additional music production software.
The easiest step is the first step, which is connecting the audio interface to the laptop using the provided cable. In this case, they gave us a USB-C to USB-A connection, which is pretty new to audio interfaces because this USB-C connection used to be a printer cable. Now, with the new technology, it’s a USB-C connection instead. On the other side, the USB-A connection plugs straight into your laptop. Once your audio interface is connected, the first thing you need to look out for is a green light at the top. This green light means everything is working perfectly and your laptop recognizes the new sound driver. If the green light is not on, you need to go to the Focusrite website, download the Focusrite Scarlett Solo driver, install it, and then reconnect the audio interface. This should make the green light appear.
Now that we have our audio interface physically connected, the next step is to connect our interface to our music production software, or DAW. I use Cubase, but for others using Ableton, FL Studio, or Logic, the process is very similar. You need to go into the audio connections of your software. In Cubase, I go to Studio, drop down to Studio Setup, and it takes me straight to the VST Audio System. This will show a drop-down menu of all the sound drivers on my laptop, including ASIO for All, Focusrite Thunderbolt ASIO, Focusrite USB ASIO, Generic Low Latency ASIO Driver (the general one for Windows), Realtek ASIO, and VoiceMeeter Virtual ASIO. Since we’re using a Focusrite USB audio interface, we want to click on the Focusrite USB ASIO and then click OK. Now the audio interface is connected to the software.
With your audio interface connected both physically and in your music production software, everything should be working fine, and your audio interface should be efficiently set up. This brings me to the end of this review on how to set up an audio interface, focusing on the Focusrite Scarlett Solo. If you enjoyed this review and found it helpful, please give it a thumbs up. If you loved it, subscribe down below, and I will see you in another review next time.
